
Drywall Finish Levels Explained
February 27, 2023
When your water heater starts to leak, especially in Colorado, you need to replace it quickly. Here we will show you how to install your own gas water heater in less than a day. Even if you don't need a new water heater right now, I assure you that in the State of Colorado you probably will for years to come.
If yours is getting old, this article is also for you. Replacing a water heater isn't difficult if you have the essential tools and a little experience soldering copper. But you can always hire On the Way Masters as we have the tools and a professional and experienced team for water heater replacement service in Colorado.
Tools Required
- 4-in-1 screwdriver
- Adjustable wrench
- Electrical tape
- Pipe wrench
- Plumbers tape
- Safety glasses
- Soldering torch
- Tape measure
- Tube cutter
- Voltage tester
- Wire stripper/cutter
Materials Required
- Discharge pipe
- Fittings
- Pipe thread compound
- Pressure relief valve
- Solder
- Venting pipe and connectors
- Water and gas piping
Unistallating Water Heater: Step by Step
Step 1: Shut off the Cold Water
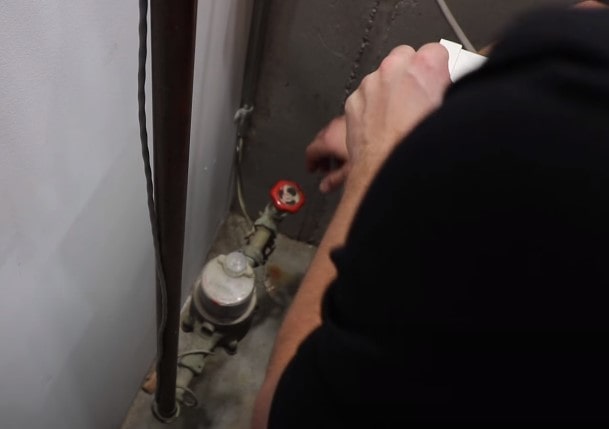
Turn off the gas to the water heater by turning the nearby shutoff valve a quarter turn. The handle should be at a right angle to the pipe when off. Shut off the main water supply as well and drain the lines by opening a faucet on the lowest floor.
Step 2: Draining the Water Heater
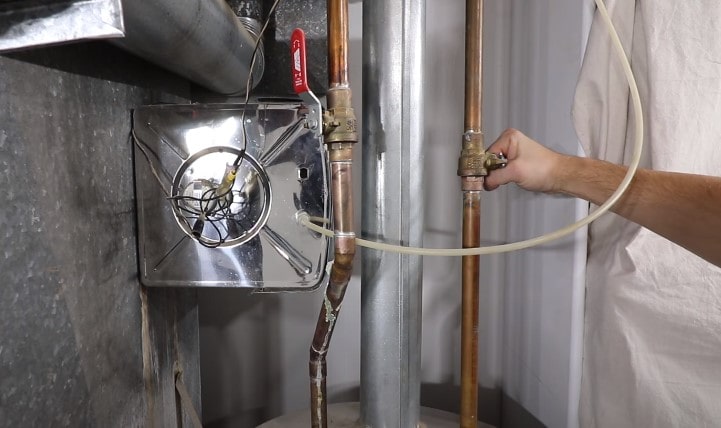
Attach a garden hose to the drain valve, direct the hose to a floor drain and open the drain bow to allow air into the system to help speed up the draining process. You can either lift the lever on the end of the relief valve or open a hot faucet in the residence.
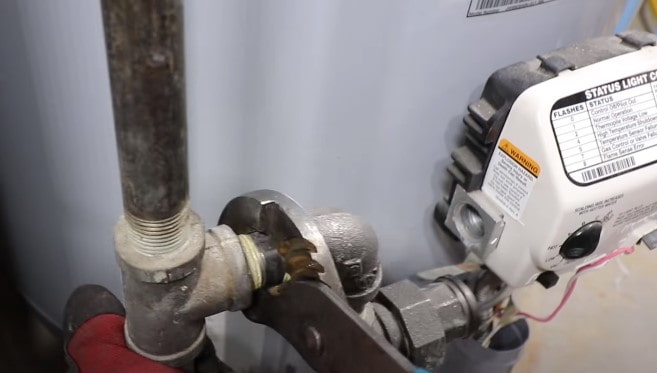
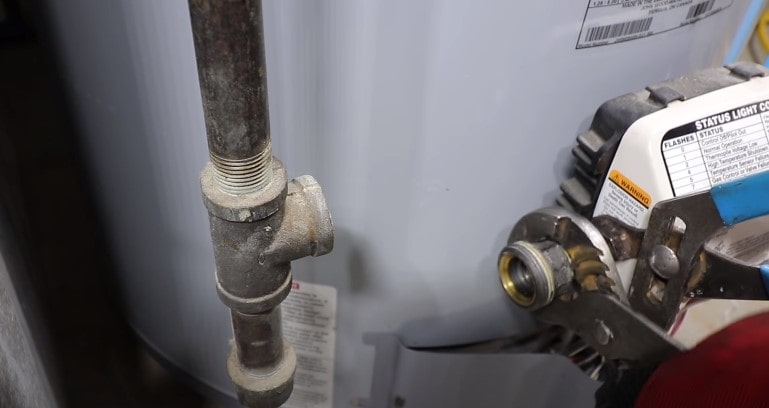
Step 3: Disconnect the Gas Union
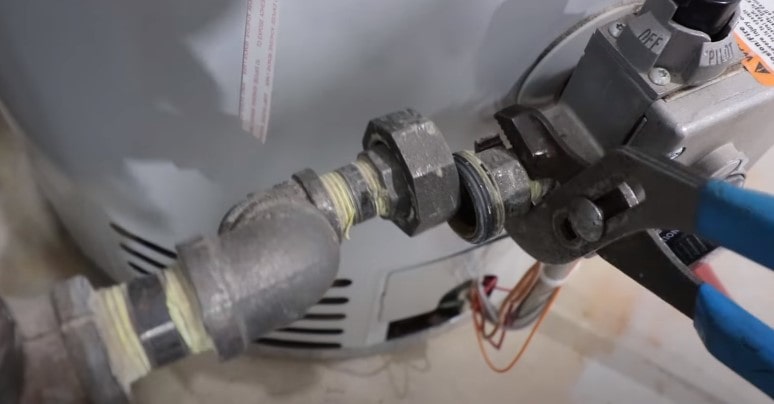
While the tank is draining you can continue with the disconnect loosened off the union to the gas control. You may have a yellow flex connector instead of rigid piping as seen here; you would disconnect the flex connector at the gas control side and unscrew the venting from the draft hood.
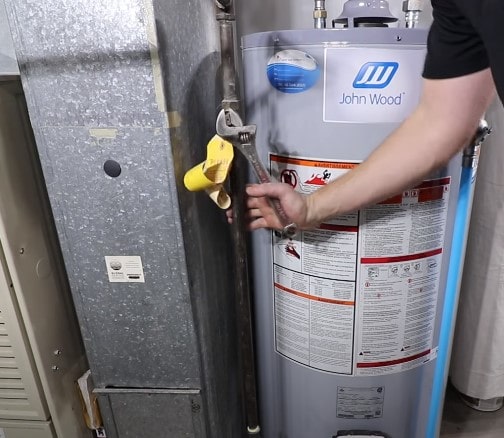
Step 4: Cut off the Water Lines
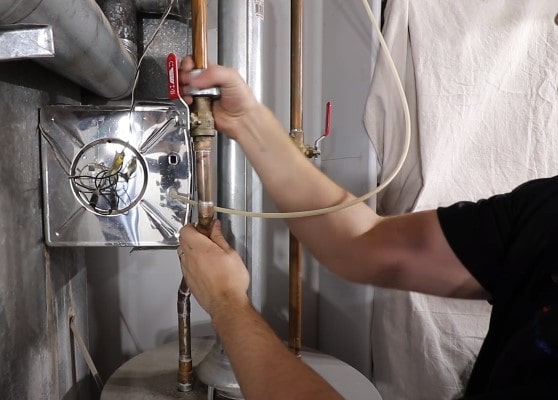
You must cut off the water lines above the shutoff valves in this water heater installation since the cold side shutoff leaks and the hot side shutoff is against code for years of residential water. Once the water heater is unplugged, you can move it out of the way to make room for the new tank as the humidifier.
How to Install Water Heater
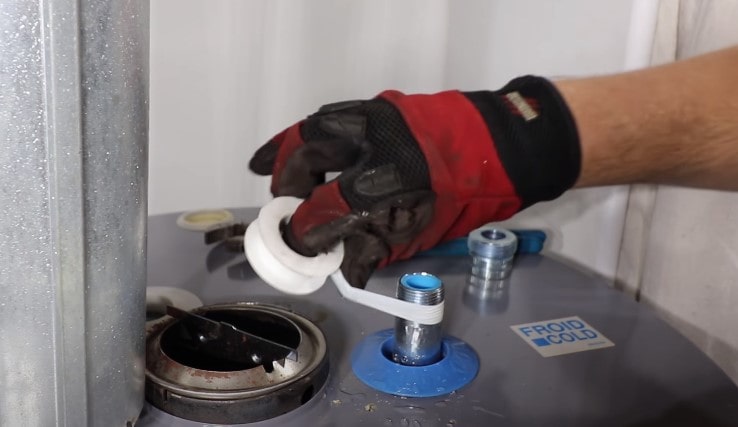
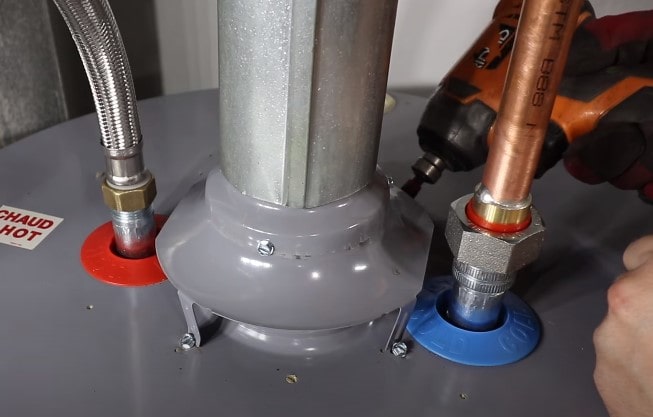
- Wrap the heat trap fitting pipe threads with thread seal tape. Many of these fittings are directional. Find the arrows that show the correct direction for installation. If installed wrong, water will not flow properly or at all.
- Attach the blue-coded fitting to the cold-water inlet. Follow the arrow facing into the water heater.
- Attach the red fitting to the hot water outlet. Follow the arrow pointing away from the water heater.
- Tighten using a pipe wrench or adjustable pliers.
- Measure and cut the water line connections to length as needed.
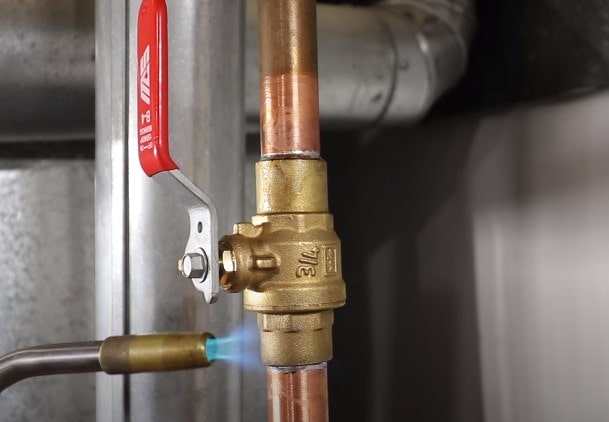
- When sweating the remaining copper sections, dry fit everything first. Sweat any threaded copper fitting first. Let them cool before installing them onto the heat trap fittings. Once you have the pieces in place, separate the parts.
- Clean the inside of each joint and the end of each section of pipe. Use a sanding cloth or a pipe-fitting brush to do this.
- Apply flux to the fittings and pipe. Assemble and solder using a propane torch.
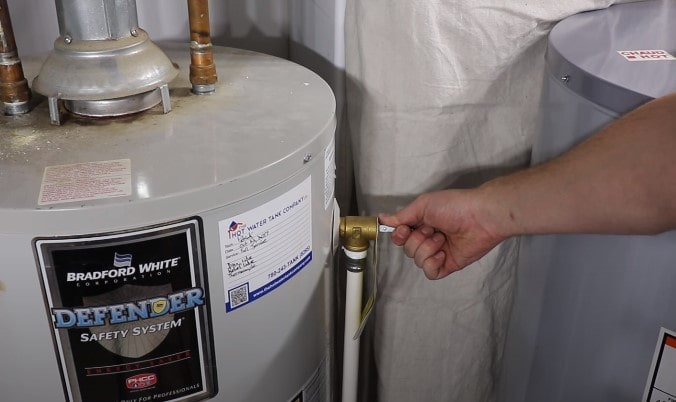
Reconnect the water line. - Attach the pressure relief valve. Wrap the threads with thread seal tape, then screw it onto the new tank.
- Install the valve’s drain line from the previous tank. Wrap the threads with thread seal tape and install it onto the valve.
Tip: We recommend professional installation with On the Way Masters in Colorado if you must have soldered fittings . You can also opt for water heater supply lines in lieu of making sweat connections. Some of these options contain push-to-connect fittings or compression fittings.
Step 2: Attach the Water Lines
- Clean the hot and cold water supply connections and clean the flow of the replacement shut-off valve.
- The cold water supply pipe into the shut-off valve, then connect, slide the insulation sleeve, then the joint knot or newly welded pipe, thread it into the tank, mark the copper to the appropriate length, cut off, then clean and flow a freshly cut edge, connect to the tank.
Tip: Be sure to inspect your joints once complete with the weld joints complete and cool the washer for the dielectric joint can be installed hand tight first followed by a quarter to half turn with a wrench for the hot side connection.
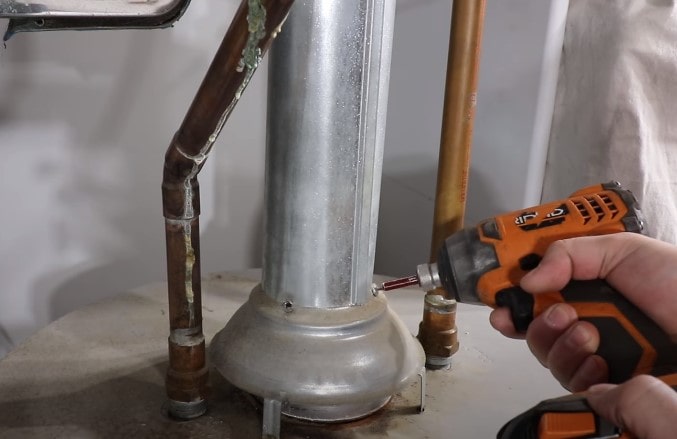
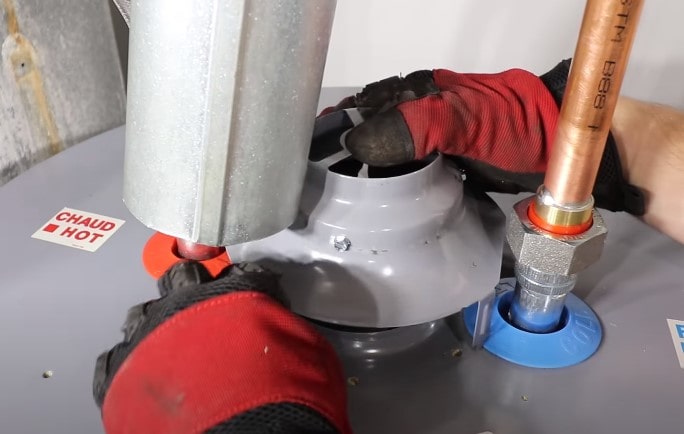
Step 3: Reattach the Vent
Reconnect the vent. Shove it tightly over the draft hood and anchor it with three 3/8-in. No. 6 sheet metal screws. Pre-drill the holes. The vent should rise at least 12 in. vertically before turning at the first elbow.
Step 4: Connect the Gas Supply

- Reconnecting the gas if you have a flexible gas connector passage is much easier.
- Connects the threaded side to the gas control and the flared side to the Flex connection.
- Remember not to use any sealant for the flare side connection. Our jurisdiction recommends rigid pipe as seen here there is no exact science to reconnection.
- Having a collet and extra fittings definitely helps, the main goal is to be able to connect the union without having any stress on the pipe.
- When making any connection, always use two keys.
Step 5: Check for Leaks
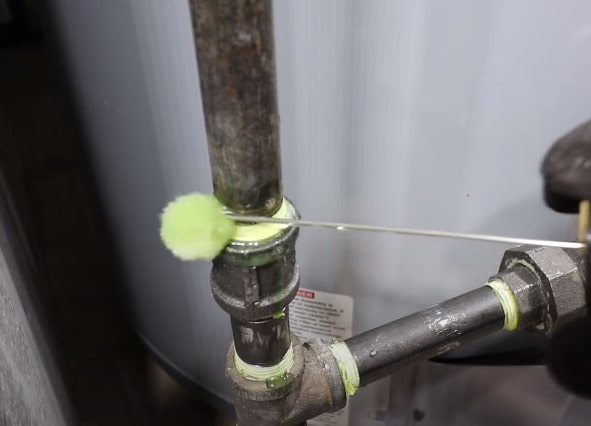
Once the gas is reconnected you can reopen the gas supply and test all your connections with either a soap solution or an approved leak detector. You're looking for any bubbles multiplying or growing. If you find a leak, shut off the gas supply and recheck your connection.
Tip: If your water here comes with a discourage tube for the relief valve remove the tapes and reinstall.
Step 6: Turn on the Pilot Light

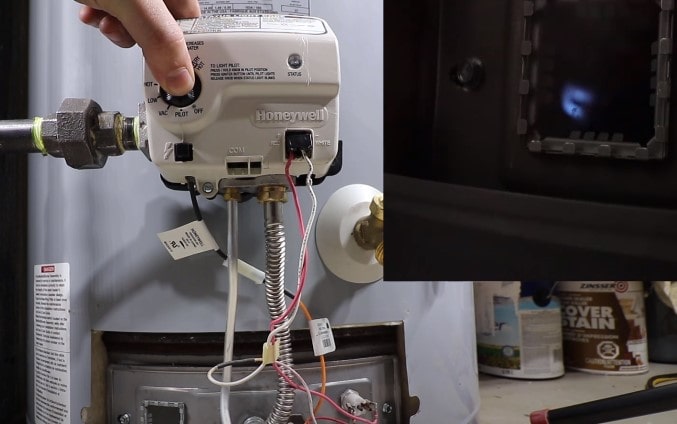
- Adjust the temperature and turn the thermostat knob to the pilot position.
- This will be the only position the knob can be depressed while depressing the thermostat knob.
- Push the igniter switch a few times until the pilot flame is lit and seen through the sight glass.
- Continue holding the thermostat knob down for roughly one minute and the light on the gas control starts to blink; you can now let go of the thermostat knob and adjust the temperature as desired.
Congrats you've made it through a complete gas-fired atmospherically vented water heater install. It is strongly recommended to have a certified technician like those at On the Way Masters complete your installation safely and professionally if you are in Colorado.